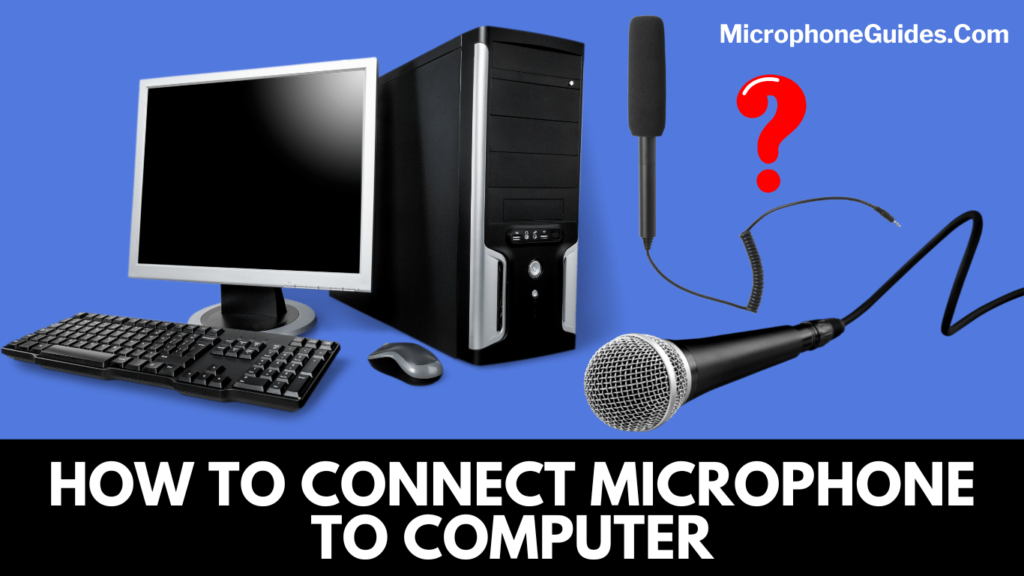
Many ways have been devised which let you connect microphone to computer. Giving you a quick and general overview! You can establish the connection between the microphone and the computer using a USB adapter or mini-plug connector.
You can even use the headphone or mic port or an XLR mic that comes with an adapter. Below we have mentioned complete details regarding how to establish the connection; you can go through the remaining part of the post:
Ways to connect microphone to computer
Both of these connectors make it extremely easy for you to connect the mic to the computer. These connectors are also compatible with Chromebooks and laptops. Once you have figured out what kind of connector your microphone has, you can follow the below-mentioned ways:
Method 1: Connecting microphone via USB adapter to the computer
You can definitely connect your microphone via a USB adapter to the computer. The whole process looks simple and easy to follow. In this case, you must use a USB mic if using a USB adapter.
- You can connect a phono microphone by using a USB adapter, or you can also use a sound card.
- Connecting the XLR mic seems possible via a USB mixer.
- First, you have to look for the USB port on your computer. Plug your microphone into that port. The USB port is generally located on the laptop’s front, back, or sides.
- The minute you plug the mic into the USB port, it will be automatically detected. Drivers will start installing, and after a few minutes, your microphone device will be verified and ready for use.
Method 2: Connecting microphone via a mini-plug connector to the computer
If you use a mini-plug microphone, ensure your computer has a mini-plug connector. Only then you can establish the connection between a mic and a computer.
- The very first step is to look for a mini-plug connector. A mini-plug connector is commonly spotted in tablets and mobile phones as well. On the other hand, in a desktop computer, you can look for the microphone jack on the back side, top or front sides of the computer casing.
- Plug the mic into the connector.
- After a few minutes, drivers will get installed because the PC system has identified and detected the mic.
- It is all connected now; you can now use it.
Method 3: Connecting microphone via headphone/mic port to the computer
The next method helps you connect the mic to the computer via the headphone/mic port. This process is also hassle-free to follow.
- Look for the headphone/mic port on your computer. Almost all computers have a microphone port. Or you will spot a combination socket for connecting a headset which comes with a built-in microphone.
- A few of the computer sets have a 1/4-inch port. In this case, you will require a suitable adapter to quickly and hassle-free connects the headset.
- In desktop computers, the headphone port is present at the back of the device. And modern PC systems have ports at the front.
- Plug the headset into the port.
- The system will identify the mic in a few seconds.
- Voila, you are done, that is all!
Method 4: Connecting XLR microphone with the help of an adapter to the computer
If using an XLR mic, you can connect it to the computer with the help of an adapter. Adapters come in many shapes and sizes, starting from XLR to phono adapters, or you can even have the Y-adapter splitters.
- The first step is to connect the adapter to the microphone port which is present on your computer.
- Now, you can connect the XLR microphone to the adapter.
- That is all, the PC system will detect the XLR mic, and you can precede your job with it.
Method 5: Use a Bluetooth mic and get it connected to the computer
Some prefer using a Bluetooth mic because it is effortless and quick to connect to the computer. It believes to be the best and most recommended wireless solution that one can go for.
The demand for Bluetooth mics has been getting immensely higher. They ensure robust build, durability and excellent audio quality. You can use them reliably with almost all computer models. Though they are not suitable for professional-sounding vocals, but you can definitely have them for online gaming, streaming, podcasting and vlogging.
- The first step is to determine whether your computer has a built-in Bluetooth connectivity option or not. You can check this feature by accessing the devices section. You will spot an on/off toggle if there is a Bluetooth feature.
- If there is no Bluetooth feature, in this case, you have to add a Bluetooth dongle. You can easily purchase it from an online store.
- Click on the option, Add Bluetooth device, and the connection will start to get established.
- There is a chance that the computer will ask PIN from you to enter, so do that accordingly.
Conclusion
Thus, we have mentioned many ways that tell you how to connect a microphone to a computer. We want to remind you again that connecting a mic to a computer seems hassle-free because a quick connection is made using a USB adapter, mini-plug connector, headphone port, mic port or Bluetooth mic.
You can share with us your devised ways and methods you generally follow while connecting a microphone to a computer. Always stay tuned and connected with us on this webpage. The post mentioned above clearly explains the wired and wireless connecting methods. The choice is up to you which one you want to pick. Stay connected!
William Souza Here, I Am Sound Specialist, Have Trained Many Musicians And Singers. I Write Blog Contents About Sound, Music, Microphone Reviews, Speaker Reviews, Sound Card Reviews And All About Sound/Music Reviews And Instruction. I Am Writing On This Blog MicrophoneGuides.com As On My Experience And Will Update More Information & Review About Different Microphones For Different Users.