People have become more sensitive these days than they were when the era of enlightenment started. The more they try to connect themselves to the people, the more they are likely to get hurt.
Contrary to that, the more they try to avoid gatherings and maintain social distance from people, the more they are likely to get depressed and develop the habit of overthinking. What is the solution, then?
Well, the solution is definitely to maintain a balance between social life and healthy ‘self’ time. But how to calm yourself?
Calming yourself in hours of distress is a skill that one needs to learn. One thing may calm person A, but the same thing will not do any good to person B. Getting the point?
Our job is to introduce you to one of the most popular methods that people adopt these days to keep themselves calm and happy. And that common way is music. Yes! You read it right.
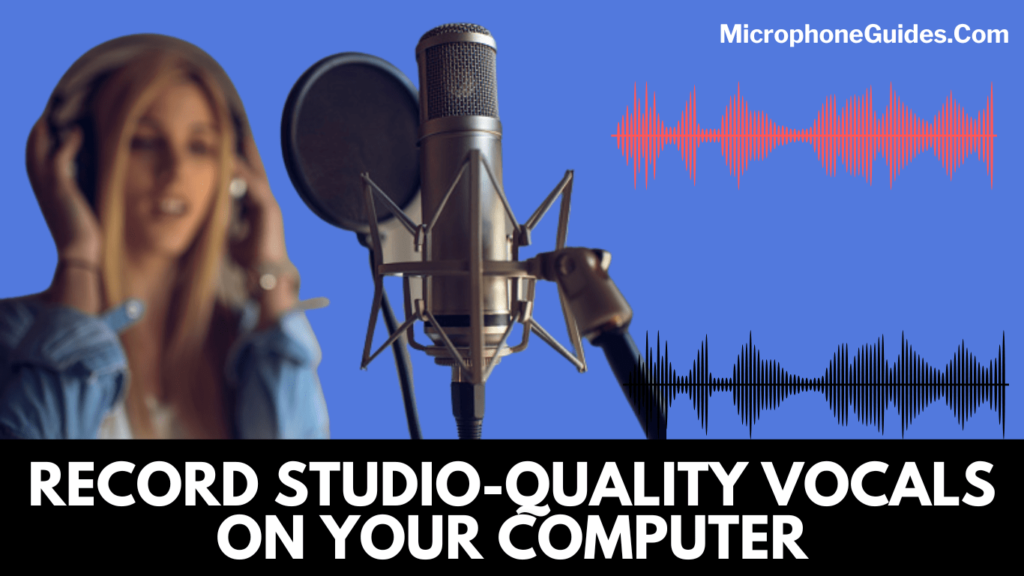
Recording a vocal or listening to audio music can soothe your mind and refresh your mood. Do you know how easy it has become for an amateur to record studio-quality vocals at home on a PC?
For getting the answer, make sure you give this writing some minutes and reflect upon the points mentioned below!
Some Easy Ways of Recording Studio-Quality Vocals at Home on PC
It is a nerve-wracking experience, and it does need a great deal of care for running things smoothly in an organized way. Written below are some of the tips that you can undertake to make your recording professional:
1. Find Out Sweet Spot for Your Recording
Every microphone has its unique features, and that is why they record vocals next to perfection for you from a particular distance. For instance, the distance of the condenser microphone from your mouth is different from the distance of the dynamic microphone. This is because the former is more sensitive than the latter one.
The more sensitive the microphone is, the more signals it is likely to pick. So if you are using a condenser microphone, it is advisable to maintain a distance of 10 to 12 inches between your mouth and the microphone.
If the distance is more than 12 inches, then all the background sound signals will be picked up by the microphone. Whereas if the distance is 6 to 7 inches or less, then the microphone is likely to pick up the sound of your breath and heartbeat.
The sound of breath and heartbeat make your original voice hoarse and heavy, and many people find it exasperating.
Hope you got the point!
2. Know Which Microphone Goes Well with Your Need or Purpose
Trust me; you will ruin your live session if you use a USB microphone for that. Every microphone serves different features, and that is why it is imperative to figure out your purpose or the job for which you need a microphone. Got the point?
Okay, let’s make things easy to contemplate with the help of an example, shall we?
Let’s suppose person A is new to this genre and wants to record vocals at home. His choice of microphone would be different from the choice of a professional. For a beginner, USB microphones are good to go with because they are super easy to use and set up.
Contrary to that, a professional debater will go well with dynamic microphones, which are best known for dismissing background voices. These microphones are relatively hard to deal with.
Condenser microphones like Blue Yeti are a good choice for recording a vocal at home. With this microphone, you only need to plug its wire into the USB slot of your PC and enjoy the composition.
3. Incorporate Acoustic Foam Panels or Sound Absorbers in Your Room
You don’t want your vocals to be thronged with background voices and unpleasant, unwanted voices of fans, mobile ringtones, or keyboard clicks. Do you? For getting rid of such voices, it is imperative to make your room conducive. Well, how can you do that?
You can do that in either of the two ways: incorporate sound absorbers like curtains into your room, especially on windows and main doors or apply acoustic foam panels on the walls of your room so that no unpleasant sound is absorbed by the microphone.
These simple steps will help you in isolating your voice from unwanted, disturbing background sound waves and absorb only the required sound signals.
4. Use Good-Quality Pop Shield When Recording Vocals at Home on PC
Have you ever worked in a professional studio? If yes, then you must have observed a rounded structure that singers place before the microphone before recording a song.
For your information, that rounded structure is called a pop filter. Pop filters are sturdy, plate-shaped, netted structures that filter out all the unnecessary popping sounds that would otherwise ruin the event for you.
These popping sounds come out whenever you utter the alphabet B or P. With these sturdy structures, you can get rid of all the popping sounds. The audience will get to hear the crisp and clear voice.
Make sure you bring home one pop filter for yourself as you can use them time and again, so make sure you purchase the one with the best features and configuration.
In addition to the advantage stated above, pop filters make the editing part easy for you. All the unnecessary sounds are filtered automatically by it; you don’t need to spend hours editing it.
Final Statement
Every music composer doesn’t have a studio which is why they need to learn how to record studio-quality vocals on a computer at home so that they could polish their skill and record their composition at a low price. Hopefully, the article has covered some primary points related to the main topic. Stay connected for more information!
William Souza Here, I Am Sound Specialist, Have Trained Many Musicians And Singers. I Write Blog Contents About Sound, Music, Microphone Reviews, Speaker Reviews, Sound Card Reviews And All About Sound/Music Reviews And Instruction. I Am Writing On This Blog MicrophoneGuides.com As On My Experience And Will Update More Information & Review About Different Microphones For Different Users.