Think of a person who has saved penny after penny and has subsidized all of his saved pennies into a microphone, only to know that his microphones are not friendly with the devices he is using them with.
Wait! Did you just read ‘NOT FRIENDLY’?
What does it mean when someone says microphones are not friendly with my smartphone, iPhone, PC, or laptop?
High five to you if you know the answer. No worries if you don’t know the answer. We are here to guide you and make the concept piece of cake for you!
Okay! Let’s get straight to the point in the discussion.
Having said that, we have established this writing for you and millions of others who have little knowledge of speeding up the quality of audio in a microphone.
Without sugarcoating, let’s get straight into the writing and learn how to make a microphone sound better!
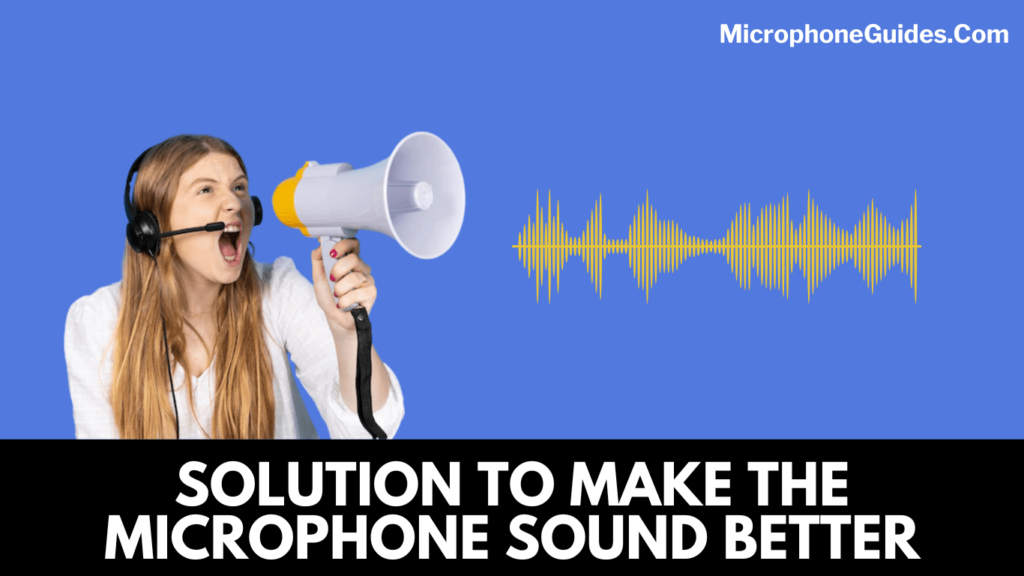
Five Easy Ways of Sounding Better With a Microphone
Have you noticed your fifteen-year-old daughter when she is around modern-day equipment and gadgets?
If yes, you must have discovered that they are more into technology than you. This is because they are born in the era of technology. Since they are introduced to gadgets and social media from an early age, they prefer to work online than go to an office and bow their head before the boss of the organization.
For working online, one of the main things that need to be in the best condition is a microphone. Agree? You must be!
If the microphone doesn’t produce crisp audio, it might annoy your girl, and she might end up losing interest in her studies and extra-curricular activities, which are crucial for her mental, financial, and psychological growth.
Do you want this to happen to your girl? Of course, not. To minimize such minor issues, we have compiled easy-to-take ways for you. Read them thoroughly to get most of them!
1. Use Boom Arms with Your Microphone
At first glance, boom arms may intimidate or deter you because of their complex structure and configuration. This intimidation will soon evaporate after you use it every time you shoot a cooking video or make-up tutorial.
The main reason for using boom arms is that they provide surplus stability to the microphone and keep it close to your mouth and distant from the keyboard and mouse, which may cause slight noise when you move them around.
Apart from the advantage mentioned above, boom arms keep your main desk clean and provide you with a lot of space for keeping your books, gadgets, and other required stationary.
2. Place Your Microphone on a Stool or Side Table Instead of the Main Desk
Ever seen the microphone on a desk in your favorite podcast? You must have. Everyone has!
Microphones come with an in-built strand that keeps the mic close to your mouth only when you place it on the desk. With that said, you must have noticed that whenever the microphone is placed on the desk, no mouse or keyboard is placed around.
This is because the microphone can record every single click of the keyboard and mouse, which can disrupt the audio quality of your speech. That is why it is at your advantage to keep the microphone on a stool or side table instead of the main desk.
3. Shoot Video in a Setting Where Background Noise is Minimum
How many of you will continue watching a podcast or a tutorial that is replenished with dozen of background noises? So much so that all you hear is a background voice and not the voice of a speaker.
I guess no one would continue watching that until and unless that speaker is your personal friend or relative, and you believe that if you tune that podcast complete, you will add something to his total watch hours.
So, it is highly recommended to keep background noises minimum whenever speaking into a microphone. This you could do by switching off the fan and TV and closing the windows and main door so that outside voices won’t invade your voiceover. Aren’t these steps easy to take?
4. Maintain Decent Distance Between Your Mouth and the Microphone
Maintaining a distance between your mic and mouth is the pace-deciding step for the whole recording. The numerical distance varies from one type to another.
For example, dynamic mics find it hard to record audio signals if they are placed away from the speaker. On the other side, condenser microphones pick up audio signals from almost a distance of 10 inches.
With that said, it is worth noting that too much distance is disadvantageous in its way as less distance is. For instance, if the microphone is placed at a distance of 1 to 2 inches from the mouth, it will record your breath and heartbeat, which will result in distorted sound production.
Similarly, if the mic is placed 10 feet away from the mouth, your sound will not be recorded at all, or it will appear thinner and ear-piercing.
So if you don’t want your audience to face any of such issues, keep the microphone at a distance of 3 to 4 feet from the mouth.
5. Add Maximum Gestures and Minimum Movement While Recording
Gestures and facial expressions are important when you are addressing a large audience and want to build a healthy relationship with them. This is FINE.
But, moving your face too far from the capsule of the mic and continuously changing body posture and position will question the audio quality of your content.
Too much movement will result in odd voice fluctuations, which will signal your audience to switch off the content you have created for them and check someone else’s content on the same topic.
Final Statement
Microphones are of no use if they fail to produce uninterrupted and crisp sound for you. To deal with that issue, you can try either of the ways discussed above. Stay connected for more information!

It’s me Brian Baldree professional sound engineer. I love to write about microphones, headphones, and musical instruments and review it’s quality.